GARDA Waterproofing Membrane
MSRP $69.99 – $339.99
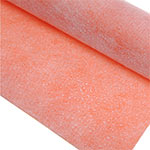
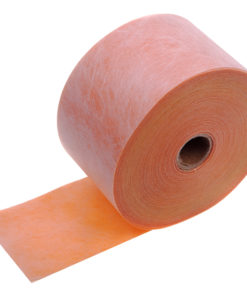
GARDA Membrane is a sheet applied, bonded waterproofing membrane and vapor retarder with limited crack-bridging capabilities. Fabricated from a pliable polyethylene inner shell with a polypropylene outer fleece webbing.
GARDA Membrane waterproofing is fabricated from a polyethylene inner membrane and covered with a polypropylene fleece which anchors the membrane to the thin set mortar. The bonded waterproofing membrane is sheet applied and pliable, making it very easy to work with, with limited crack bridging capabilities.
GARDA Membrane waterproofing was developed to be used in conjunction with ceramic and stone tile installed directly on the GARDA Membrane using the thin-bed method. Other trowel-applied covering materials, such as plaster, can also be used.
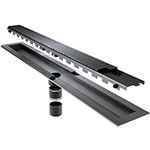
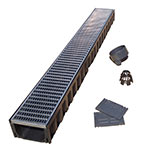
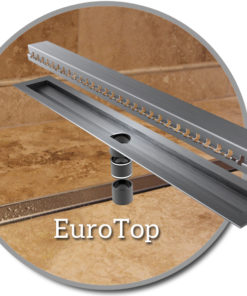
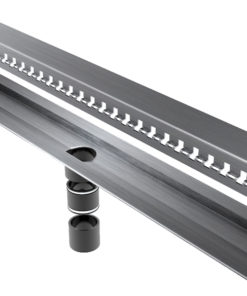
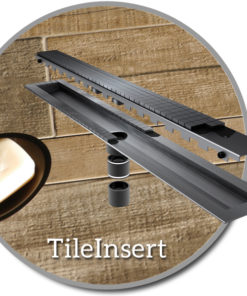
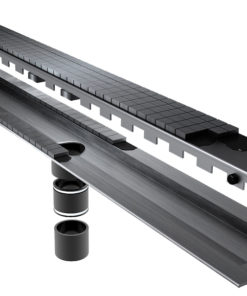
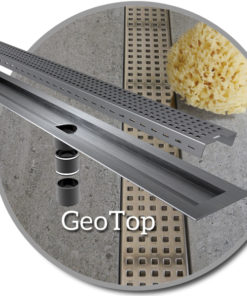
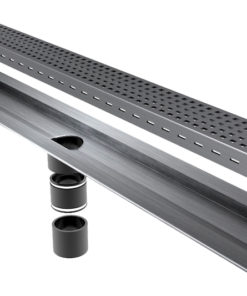
Made to work perfectly with GARDA-Line linear drain.
| SQF | ITEM NUMBER | DIMENSIONS | THICKNESS |
| 63 | GW47/63F | 47-1/4″ x 16′ | 8MM |
| 110 | GW47/110F | 47-1/4″ x 28′ | 8MM |
| 220 | GW47/220F | 47-1/4″ x 56′ | 8MM |
| 315 | GW47/315F | 47-1/4″ x 80′ | 8MM |
It is recommended to use the GARDA STRIPS and GARDA CORNER in conjunction with the GARDA Membrane waterproofing to ensure a completely waterproof system.
INSTALLATION:
- Ensure that the substrate is clean, even, and load bearing
- Cut GARDA to size
- Apply thin-set mortar to substrate, pressing firmly with flat side of trowel engage GARDA Membrane into the bond coat making sure all air bubbles are removed
- Seal any seams and corners
- Once the entire membrane — with seams, corners, and connections — has been completely bonded, and therefore waterproofed, the covering may be applied
Note: Water testing of the assembly prior to setting tile, wait 24 hours to allow for final set of the mortar before testing to ensure waterproof performance of the assembly at seams and connections. - For tile installations using the thin-bed method, apply unmodified thin-set mortar directly to the exposed GARDA Membrane surface and install the tiles, ensuring full coverage
Please refer to the GARDA Membrane Installation Manuel for full installation instructions
*Instructions for installing GARDA Membrane waterproofing included on this page are for representative purposes only.
Downloads
GARDA Membrane Installation Instructions
Download GARDA Membrane Installation Instructions PDF

